Searing Is Not Just For Steaks!
You don’t need to go to the best steakhouse in town to find that perfectly cooked piece of filet! It’s all about the searing. Yes, the cut of meat is important, but even if you have a delicious rib eye, it can all go wrong in an instant. Searing is perfect not only for meat, but for pork and chicken as well.
Searing needs to be done quickly, on a very hot “searing station”, in order to lock in the juices and get that crispy, caramelized surface that we all love. No need for fancy sauces or spices. In fact, the best thing for your steak is simply salt and pepper. Don’t be timid when searing and ride out the urge to flip that meat! Flip it once, and sear each side for no more than 1.5 minutes. The best method after your meat is flipped is to use a meat thermometer. It will be cooked to perfection.
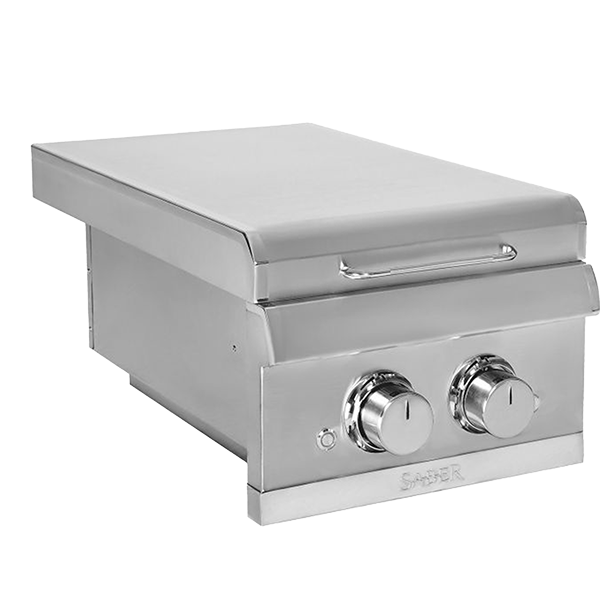
If you are searing on a Sear Side Burner you are ready to go. These burners are hot! The infrared burner gets up to 1,600 degrees fareinheight and generates 15,000 BTUs. Don’t have a built in Sear Side Burner? Plug in an accessory sear burner. We have sear burners for each one of our grill lines. It’s as easy as substituting the sear burner for any main burner.
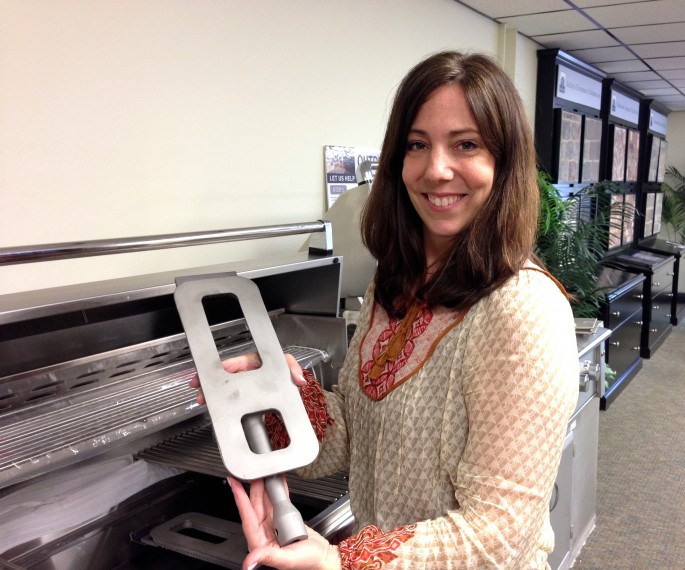 Cast stainless steel burner swaps out for the sear burner in an instant!
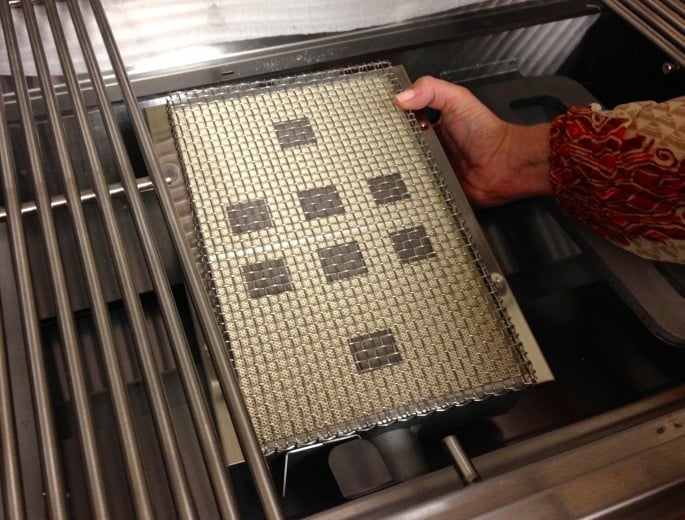 Plug in infrared sear burner pops in quickly when its time to sear.
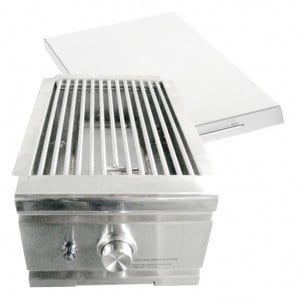 Stainless steel infrared sear side burner
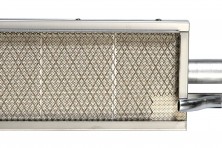 Plug-In infrared sear burner
Here are some grilling tips to sear your perfect steak-
1) Buy the best grade of steak. You want something that has fat woven through the meat called marbling. The top grade in most groceries is USDA Choice or Certified Angus which is USDA Choice or above.
2) Buy the best cut. 1.0” to 1.5″ thick bone-in grade rib eye is my fave.
3) Dry brine. Approximately two hours in advance, liberally salt both sides of meat and then refridgerate. Let the salt melt and be pulled into the meat. Salt tenderizes and amps up the flavor. No pepper yet!
4) Preheat. Turn up your Sear Burner and let it reach close to 1,600 degrees.
5) Prepare to sear. Dry your meat with a paper towel. Drizzle your meat with a little olive oil. This prevents it from sticking to the grate, fries the surface, and enhances flavor.
6) Sear. Place your steak on your sear burner and leave the lid open. We want the lid off so heat is concentrated on the exterior of one side at a time. We are working on the outside now, not the inside. Sear the exterior on one side for 1 ½-2 minutes checking frequently, resisting the urge to flip. This should get you a dark flavorful exterior. When you have the right color, paint the top with oil and flip the meat. Hit the dark side with oil and a few grinds of black pepper. We pepper it late in the game so the pepper doesn’t burn–the hot oils will extract its flavor. Cook again for 1 ½ minutes.
7) Check the interior temperature. If your meat is not at your desired temperature, reduce your sear burner to low and take the meat off the grill at 5 degrees below desired temperature. Let your steak rest for 10 minutes.
8) Enjoy!
****************************************
When you are thinking about adding to or upgrading your Outdoor Living space–we at Fire Farm would love to hear from you to get this simple design process rolling. We have teamed up with Summerset Professional Grills featuring Alturi outdoor kitchen products, comparable to the higher end grills on the market today– including of course– sear burners! Just ask for Lauren DiMartino, Outdoor Kitchen Designer and Grilling Guru!
Tel: 877-977-0004

