By now, you are most likely on your way to fully mastering your outdoor grill! Up to this point, we have talked smoking and searing–now its time to talk about using a rotisserie kit! If words like “juicy”, “slow roasted” and “self basting” get your palette revved up….a rotisserie is going to be a GREAT enhancement to you grilling repetoire! And…its both easy and fun to use!
Fire Farm’s rotisserie kit comes included on most of our Summerset and Alturicommercial grills, or is an easy upgrade on our Sizzler grill. The kit includes the motor, spit, forks, handle and the mounting collar. If you are looking to upgrade your grill this summer, the TRL model is the perfect mid level commercial grill. It has 4 stainless steel burners (#304SS), and an infrared back burner that totals 87,000 BTU’s. This grill provides over 1000 sq. in. of cooking space and comes complete with the rotisserie as well as other great bells and whistles!
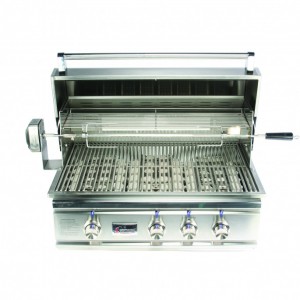 TRL 32 stainless steel grill
Here is one of Lauren’s favorite rotisserie recipes from About Barbeque & Grilling:
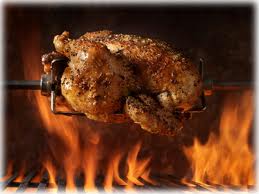
Sticky Chicken Rotisserie Style
This is a more traditional style rotisserie chicken recipe, loaded with flavor and fork tender.
Yield: Serves 8 to 10
Ingredients:
- 2 (4-pound) whole chickens
- 2 onions, quartered
- 4 teaspoons salt
- 2 teaspoons paprika
- 1 teaspoon white pepper
- 1 teaspoon dried thyme
- 1 teaspoon onion powder
- 1/2 teaspoon black pepper
- 1/2 teaspoon garlic powder
- 1/2 teaspoon cayenne pepper
Preparation:
- Mix together paprika, salt, onion powder, thyme, white pepper, black pepper, cayenne pepper, and garlic powder in a small mixing bowl.
- Remove giblets from chicken and discard. Rinse chicken cavity thoroughly, and pat dry.
- Rub chickens both inside and out with spice rub, and place 1 onion into the cavity of each.
- Place in resealable bags and refrigerate for 4 to 6 hours.
- Preheat grill, truss the chickens with cooking twine to seal the cavity and ensure even and slow cooking. Secure onto rotisserie rod.
- Prepare the grill–Remove the grill grates from the grill & place a shallow baking pan in their place to catch drippings and prevent flare ups.
- Secure the rotisserie spit: Securely clamp the chicken between the spit forks and turn on the motor.
- Cook chickens for 3 1/2 to 4 hours on indirect medium low heat, or until internal temperature reaches between 170 to 175 degrees F.
- Remove chickens and let stand for 10 minutes before carving.
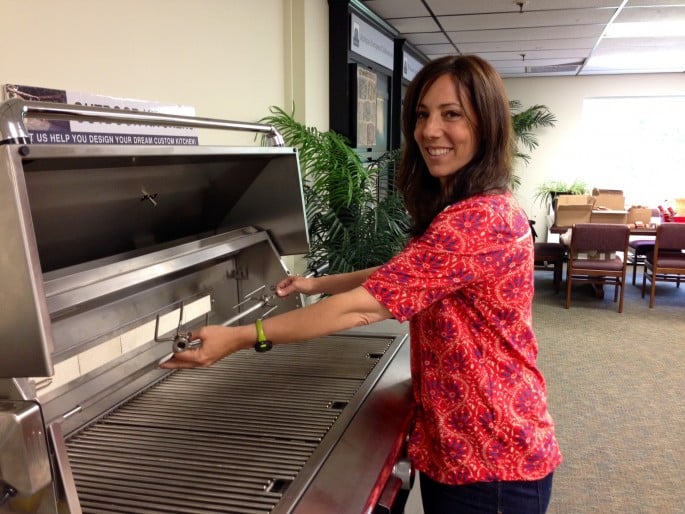 Lauren demonstrates the easy step by step rotisserie process.
 Remember to use a meat thermometer! Cooking charts might be a good guide, but there is still an element of guessing involved.
When you are thinking about adding to or upgrading your Outdoor Living space–we at Fire Farm would love to hear from you to get this simple design process rolling. We have teamed up with Summerset Professional Grills featuring Alturi outdoor kitchen products, comparable to the higher end grills on the market today– including of course– the rotisserie! Just ask for Lauren DiMartino, Outdoor Kitchen Designer and Grilling Guru!
Tel: 877-977-0004


