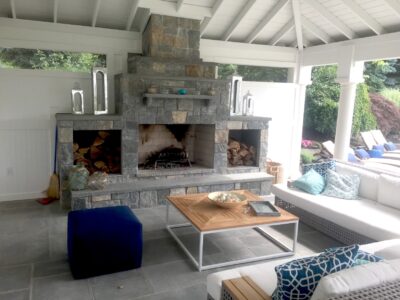
Fireplaces make up the backbone of outdoor living spaces. Learning how to build an outdoor fireplace by using a kit can speed up the installation process and make getting the proper draft easier.
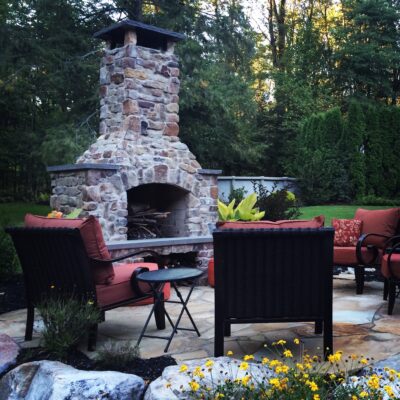
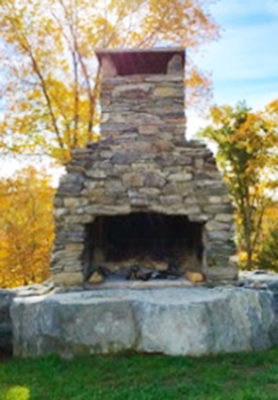
An outdoor fireplace is a great addition to a home – it can increase property value by as much as 12 percent and studies have shown that spending time sitting by a fire is beneficial for your physical and emotional health.
It’s clear that adding “Outdoor Fireplace Installation” to your service offerings can be a boon for your business, but one of the most common complications installers can run into is a fireplace poor smoke ventilation. No one wants to sit down by a fire at the end of a day only to have smoke spilling out the front and into their faces, and as a contractor, no one wants that call from their customer.
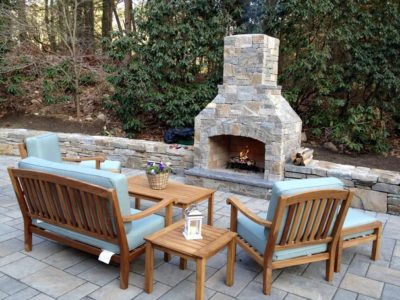
By using a kit to create the base of an outdoor fireplace you can have confidence that your installation will draft properly, leaving you to focus your craftsmanship on applying a beautiful veneer, or customizing the overall layout to suit a client’s needs. Once a proper pad is ready, constructing the base of a fireplace kit can be done in as little as 4-5 hours and veneer can be applied the same day.
Although fireplaces must cure for 30 days, using an outdoor fireplace kit speeds up the process of getting your customer’s vision to the day they can sit back and enjoy that fire.
What do I need to install an outdoor fireplace?
- A proper base poured at the correct depth to prevent frost heave: use this map for reference and check local regulations
- A Stone Age outdoor fireplace kit
- Two people that can move a slab of concrete weighing around 300 pounds to the ground and lift a 125 lb piece four feet off the ground
- A hammer
- A level
- Trowels for mortaring
- A bucket of water to apply on mortar (at least 8 ounces) or up to half a gallon
- Stone Age high temp mortar (more required depending on extra flues)
- Fire brick splits (a split is half of a full firebrick and can withstand higher temperatures than regular bricks) to line the firebox
How long does it take to install an outdoor fireplace?
- Once your pad is ready (see above), installing the kit only takes 4-5 hours
- Veneer the same day
- IMPORTANT: Wait 30 days for the fireplace to cure before lighting any fires
What are the steps to building an outdoor fireplace?
1. Determine where you will be putting the fireplace.
Make sure it’s not too close to the home and there is a good amount of space between the flame and kindling or other flammable materials.
2. Pick a size for your fireplace.
Would you prefer one with a width of 36” or 48”? What height do you want it to be? Are there accessories you would like to include such as fireboxes or a custom base or chimney cap?
3. Prepare your site.
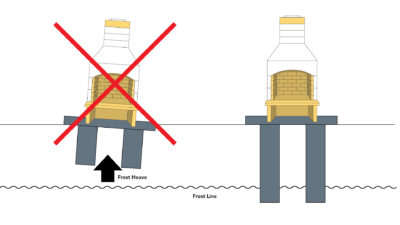
Make sure your base goes down to the frost line in your area to ensure your fireplace is not susceptible to “frost heave”. Once mortared and veneered, fireplaces can weigh 4,000lbs and can lean if frost heave isn’t accounted for.
4. Decide on your firebrick pattern.
What type of design pattern you will use for the firebox firebricks (running bond, herringbone, etc…) and the width of your joints.
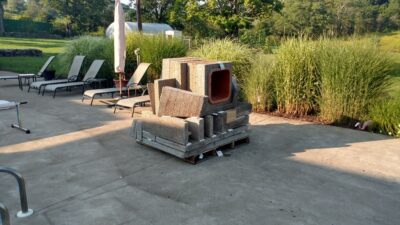
5. Set up your kit for installation.
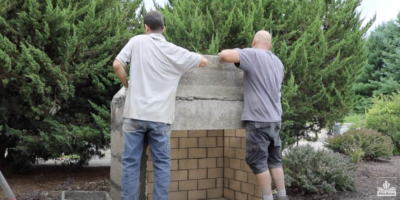
Cut the plastic strap and use two people to lay out all the pieces. Take the flues (9A) off the pallet and set them aside. You won’t need them until the end so they can be moved out of the way. These pieces weigh around 100 pounds each. Remove the throat pieces (8). They have the size of the fireplace painted on them) from the pallet and set them aside. Take the wall pieces off the pallet and put them closest to where you are putting everything together. They are the rectangular pieces and the cut, “tapered” piece.
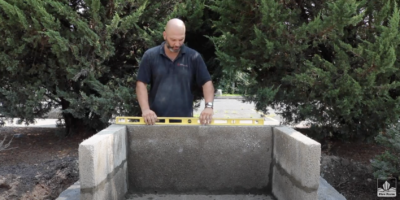
6. Set the baseplate.
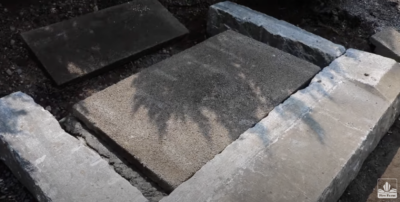
The largest and heaviest piece is the baseplate (2) which weighs around 300 pounds. It is similar to the backplate (4), but larger. Use two people to set the baseplate on your poured concrete pad with high-temp mortar and make sure it is level before moving on.
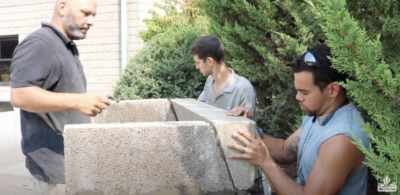
7. Set your sides and back.
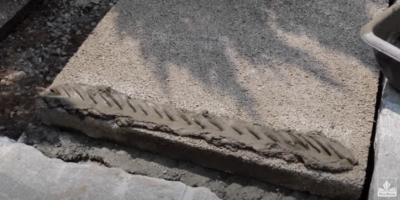
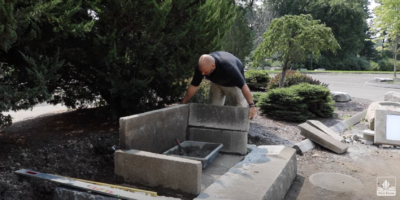
Apply a good amount of hight-temp mortar around the edge of the baseplate. Splash a little bit of water over the mortar to help with adhesion and attach the wall pieces(3). Note, there is a front and back to these pieces where they install to the backplace. Attach the backplate (4) using water and mortar. Check to make sure you are still level before installing each row of pieces.
8. Add the tapered wall pieces on top of the regular wall pieces.
Install the back header (6) on top of the backplate and join with the tapered wall pieces (5L and 5R). Stop here. Don’t install the lintel (7) until you’ve laid the firebrick to give yourself room to work.
9. Install the firebrick in the firebox.
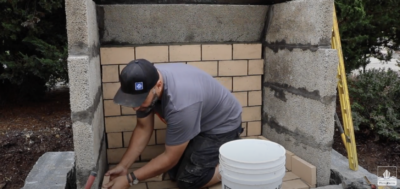
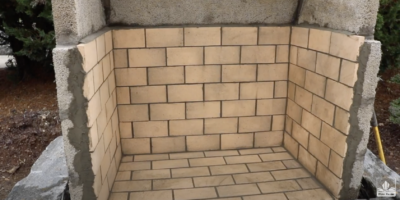
Before installing the lintel piece in front, use high-temp mortar to install the firebricks in the firebox in the predetermined pattern. Leave a 1/4″ mortar joint.
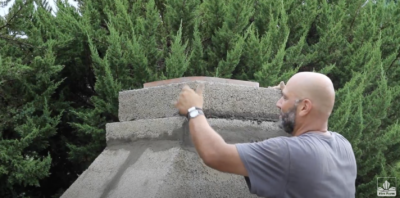
10. Add the lintel and throat pieces.
After all the firebricks are in place, add the lintel (7) and throat pieces (8). Two people will be needed for this step.
11. Add flues until the desired height is reached.
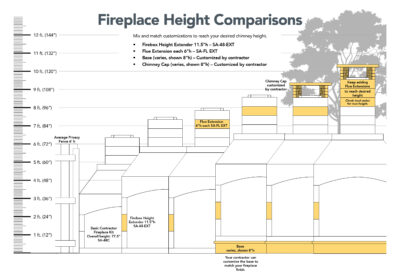
Add the throat to flue adapter (11), then add flues (9A) until you reach the height you want. Note that 3 flues are included with the Contractor Fireplace Kit. Be sure to check local codes as to how tall your fireplace can be. Install any other accessories such as wood storage boxes.
12. Veneer the same day.
You can veneer the fireplace the same day as you construct the base. If the exterior finish will be stucco, stain, tile or manufactured thin stone, wrap the outside of the firebox with metal lathe. Attach metal lathe to the firebox using concrete nails, tapcons, masonry or concrete anchors. Natural stone veneers (whether full bed depth or thin veneer), full size brick, concrete pavers, CMU block, etc., do not require metal lathe. Ensure the same refractory mortar used to build the kit is used to install these materials.
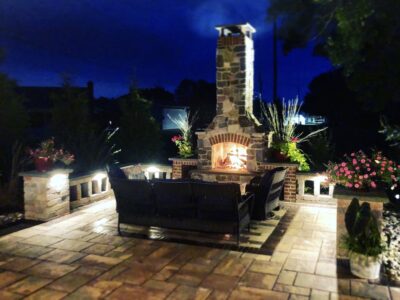
13. Add your desired chimney cap.
Chimney caps are not required but they add a nice, finished look. Pre-made metal chimney caps can be ordered or you can construct one out of the stone to match your veneer style.
14. Remind your customer to wait 30 days before lighting fires..


To allow the fireplace to cure properly, it’s important to wait 30 days before lighting any fires. We recommend you start with small fires.
Choose your kit:
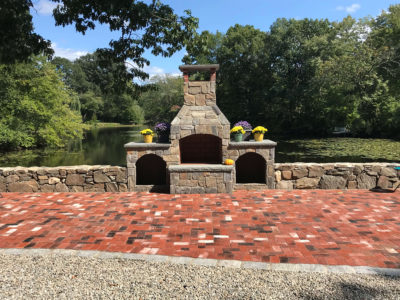
Stone Age offers fireplace kits in a variety of shapes and sizes, and kits can be modified to be taller, wider or to include firewood boxes or other accessories and finished with the veneer of your choosing for a truly custom fireplace.
Learn more about Stone Age kits.

Don’t forget:
IMPORTANT: Wait at least 30 days before lighting a fire to allow the materials to properly cure!
Watch more installation videos on our YouTube channel: